Slack Bot
What are Slack bots?
A bot is a type of Slack App designed to interact with users via conversation.
A bot is the same as a regular app: it can access the same range of APIs and do all of the magical things that a Slack App can do, but when you build a bot for your Slack App, you’re giving that app a face, a name, and a personality, and encouraging users to talk to it.
Your bot can send DMs, it can be mentioned by users, it can post messages or upload files, and it can be invited to channels - or kicked out.
Creating the App and Bot in Slack
We are going to start by setting up a development App and Bot in Slack and then connect it to a custom backend created with Cdev. Once we have the logic and functionality that we want, we can come back and create a replica of the Bot to be used as the production version.
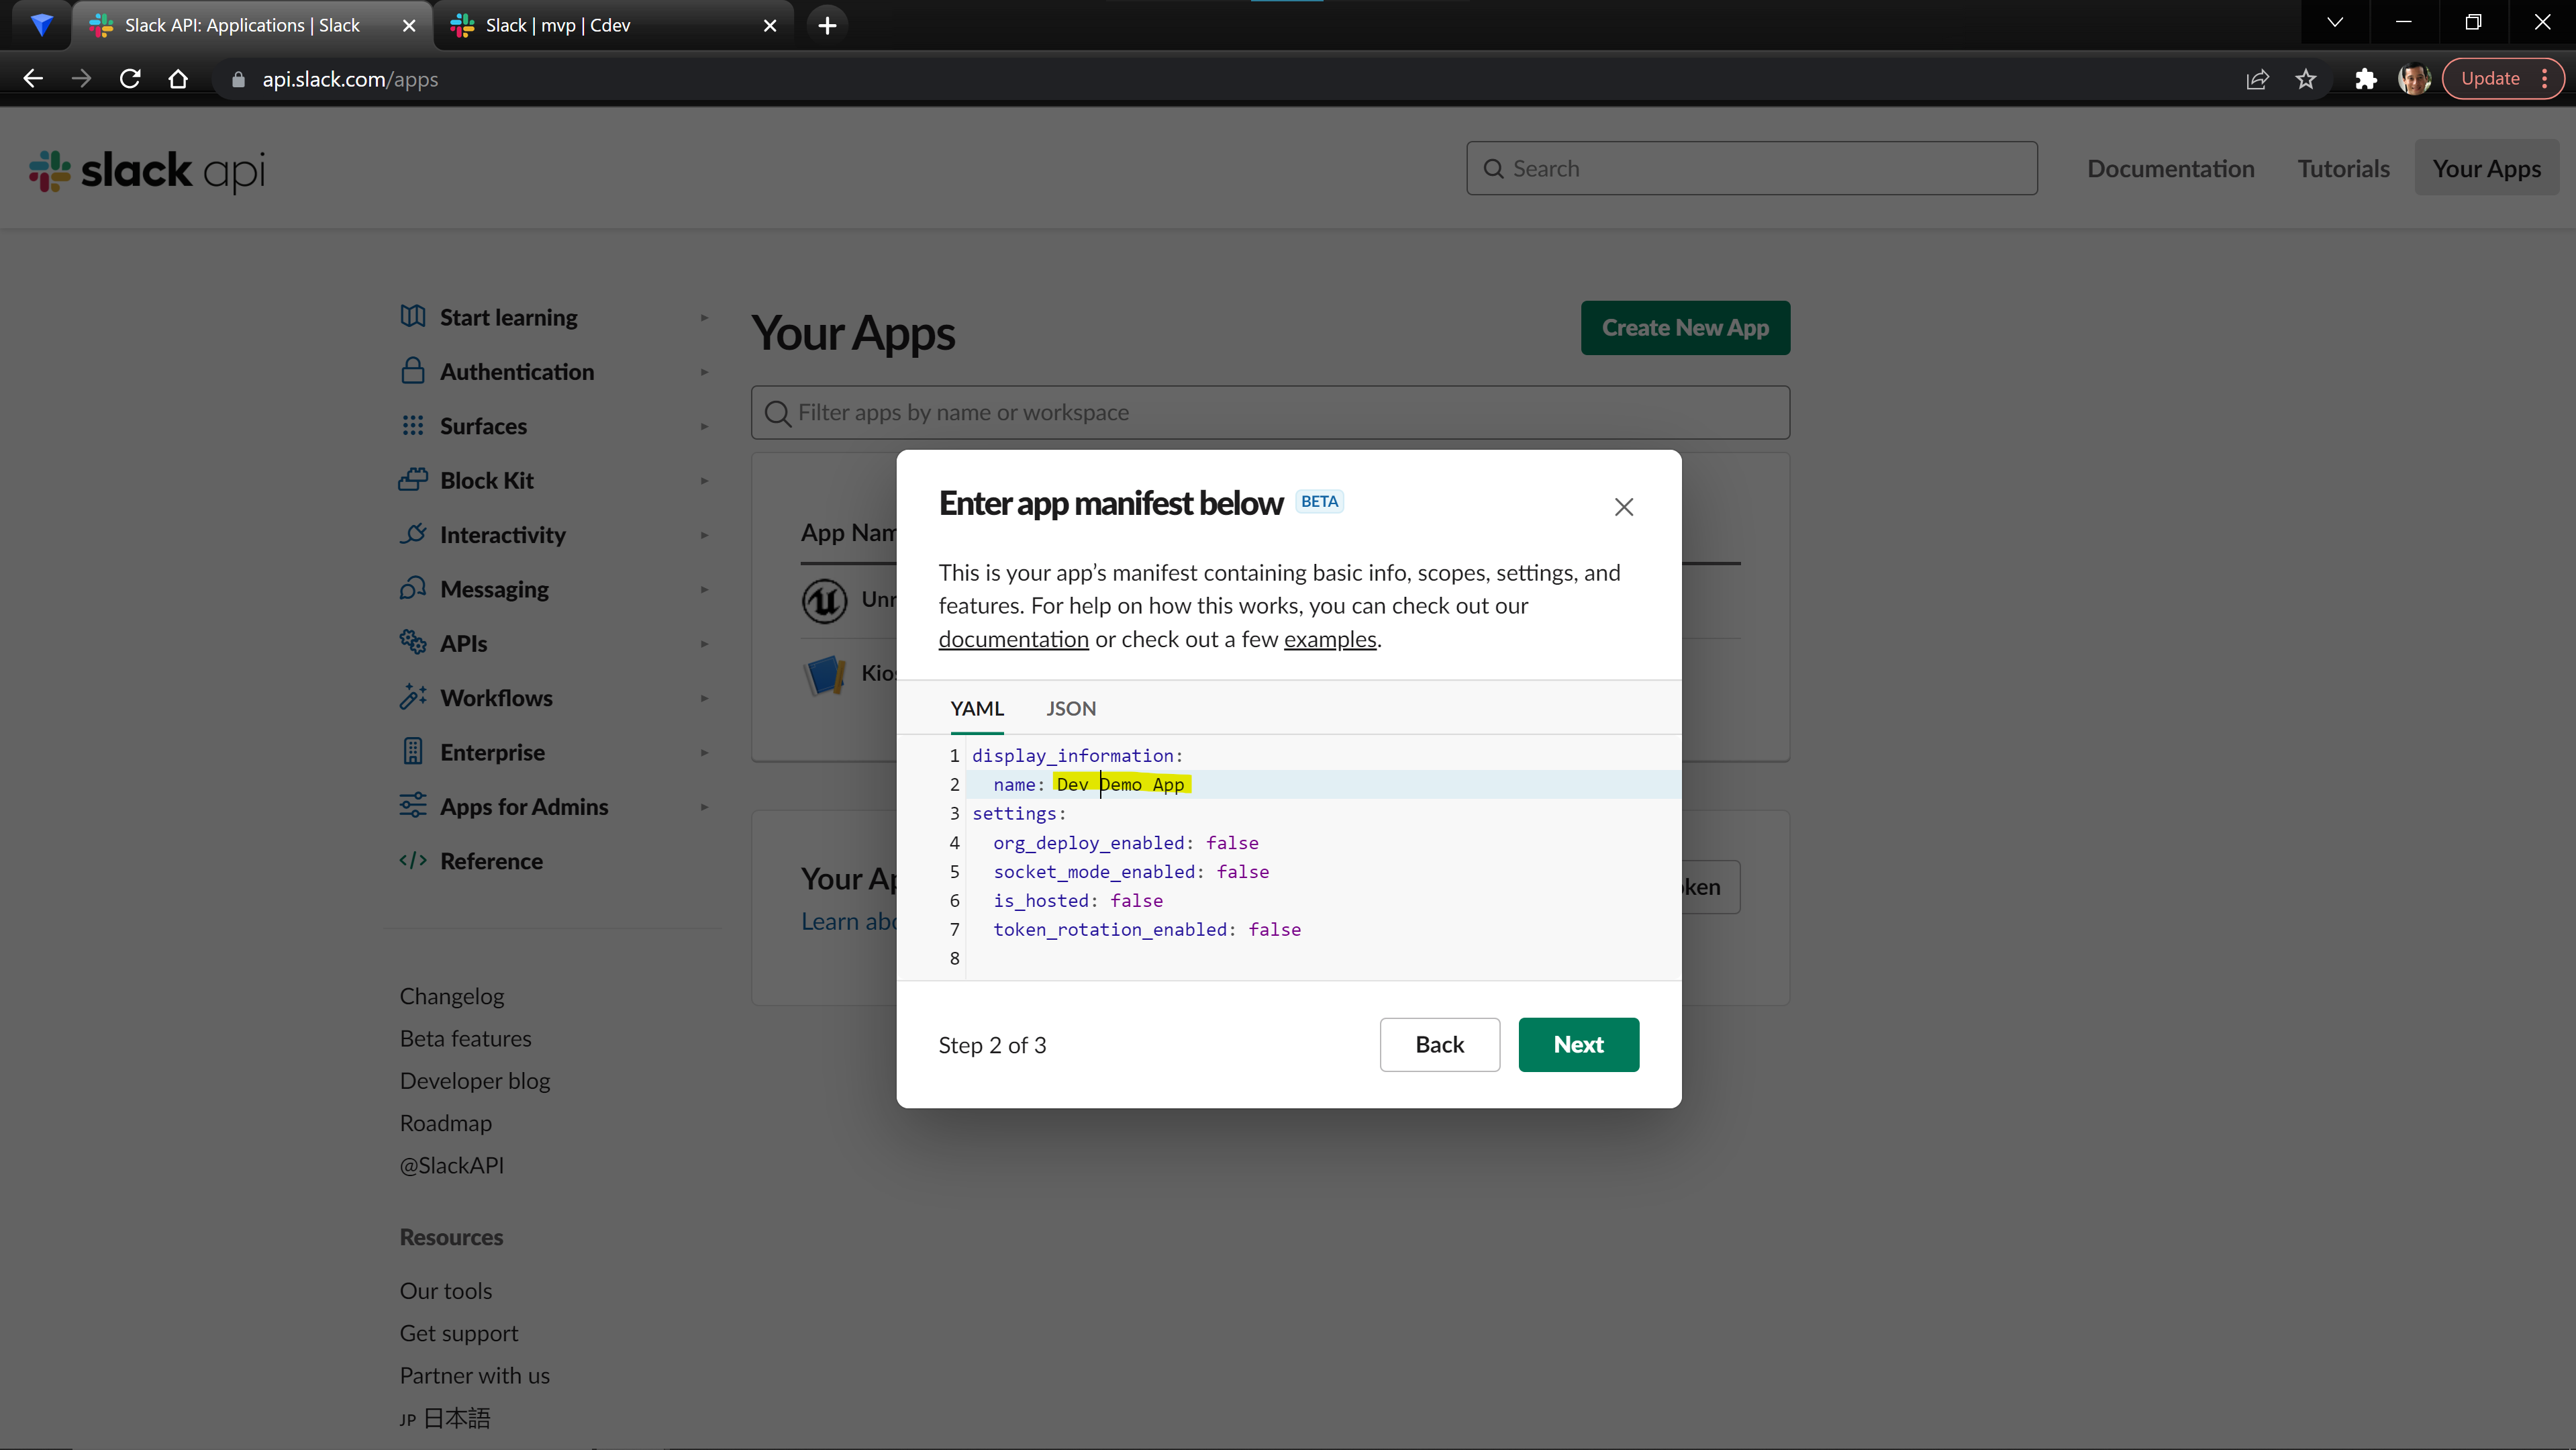
Start by going to https://api.slack.com/apps, log into your account, and click the Create New App button. We recommend using the From an app manifest starting path. From there, select the workspace you want to add the bot in. Then on the second page, change the name to Dev {your project} so that you know this is the development version of your app. Click Next, review the summary of your app, and click Create.
Give our Bot Permissions
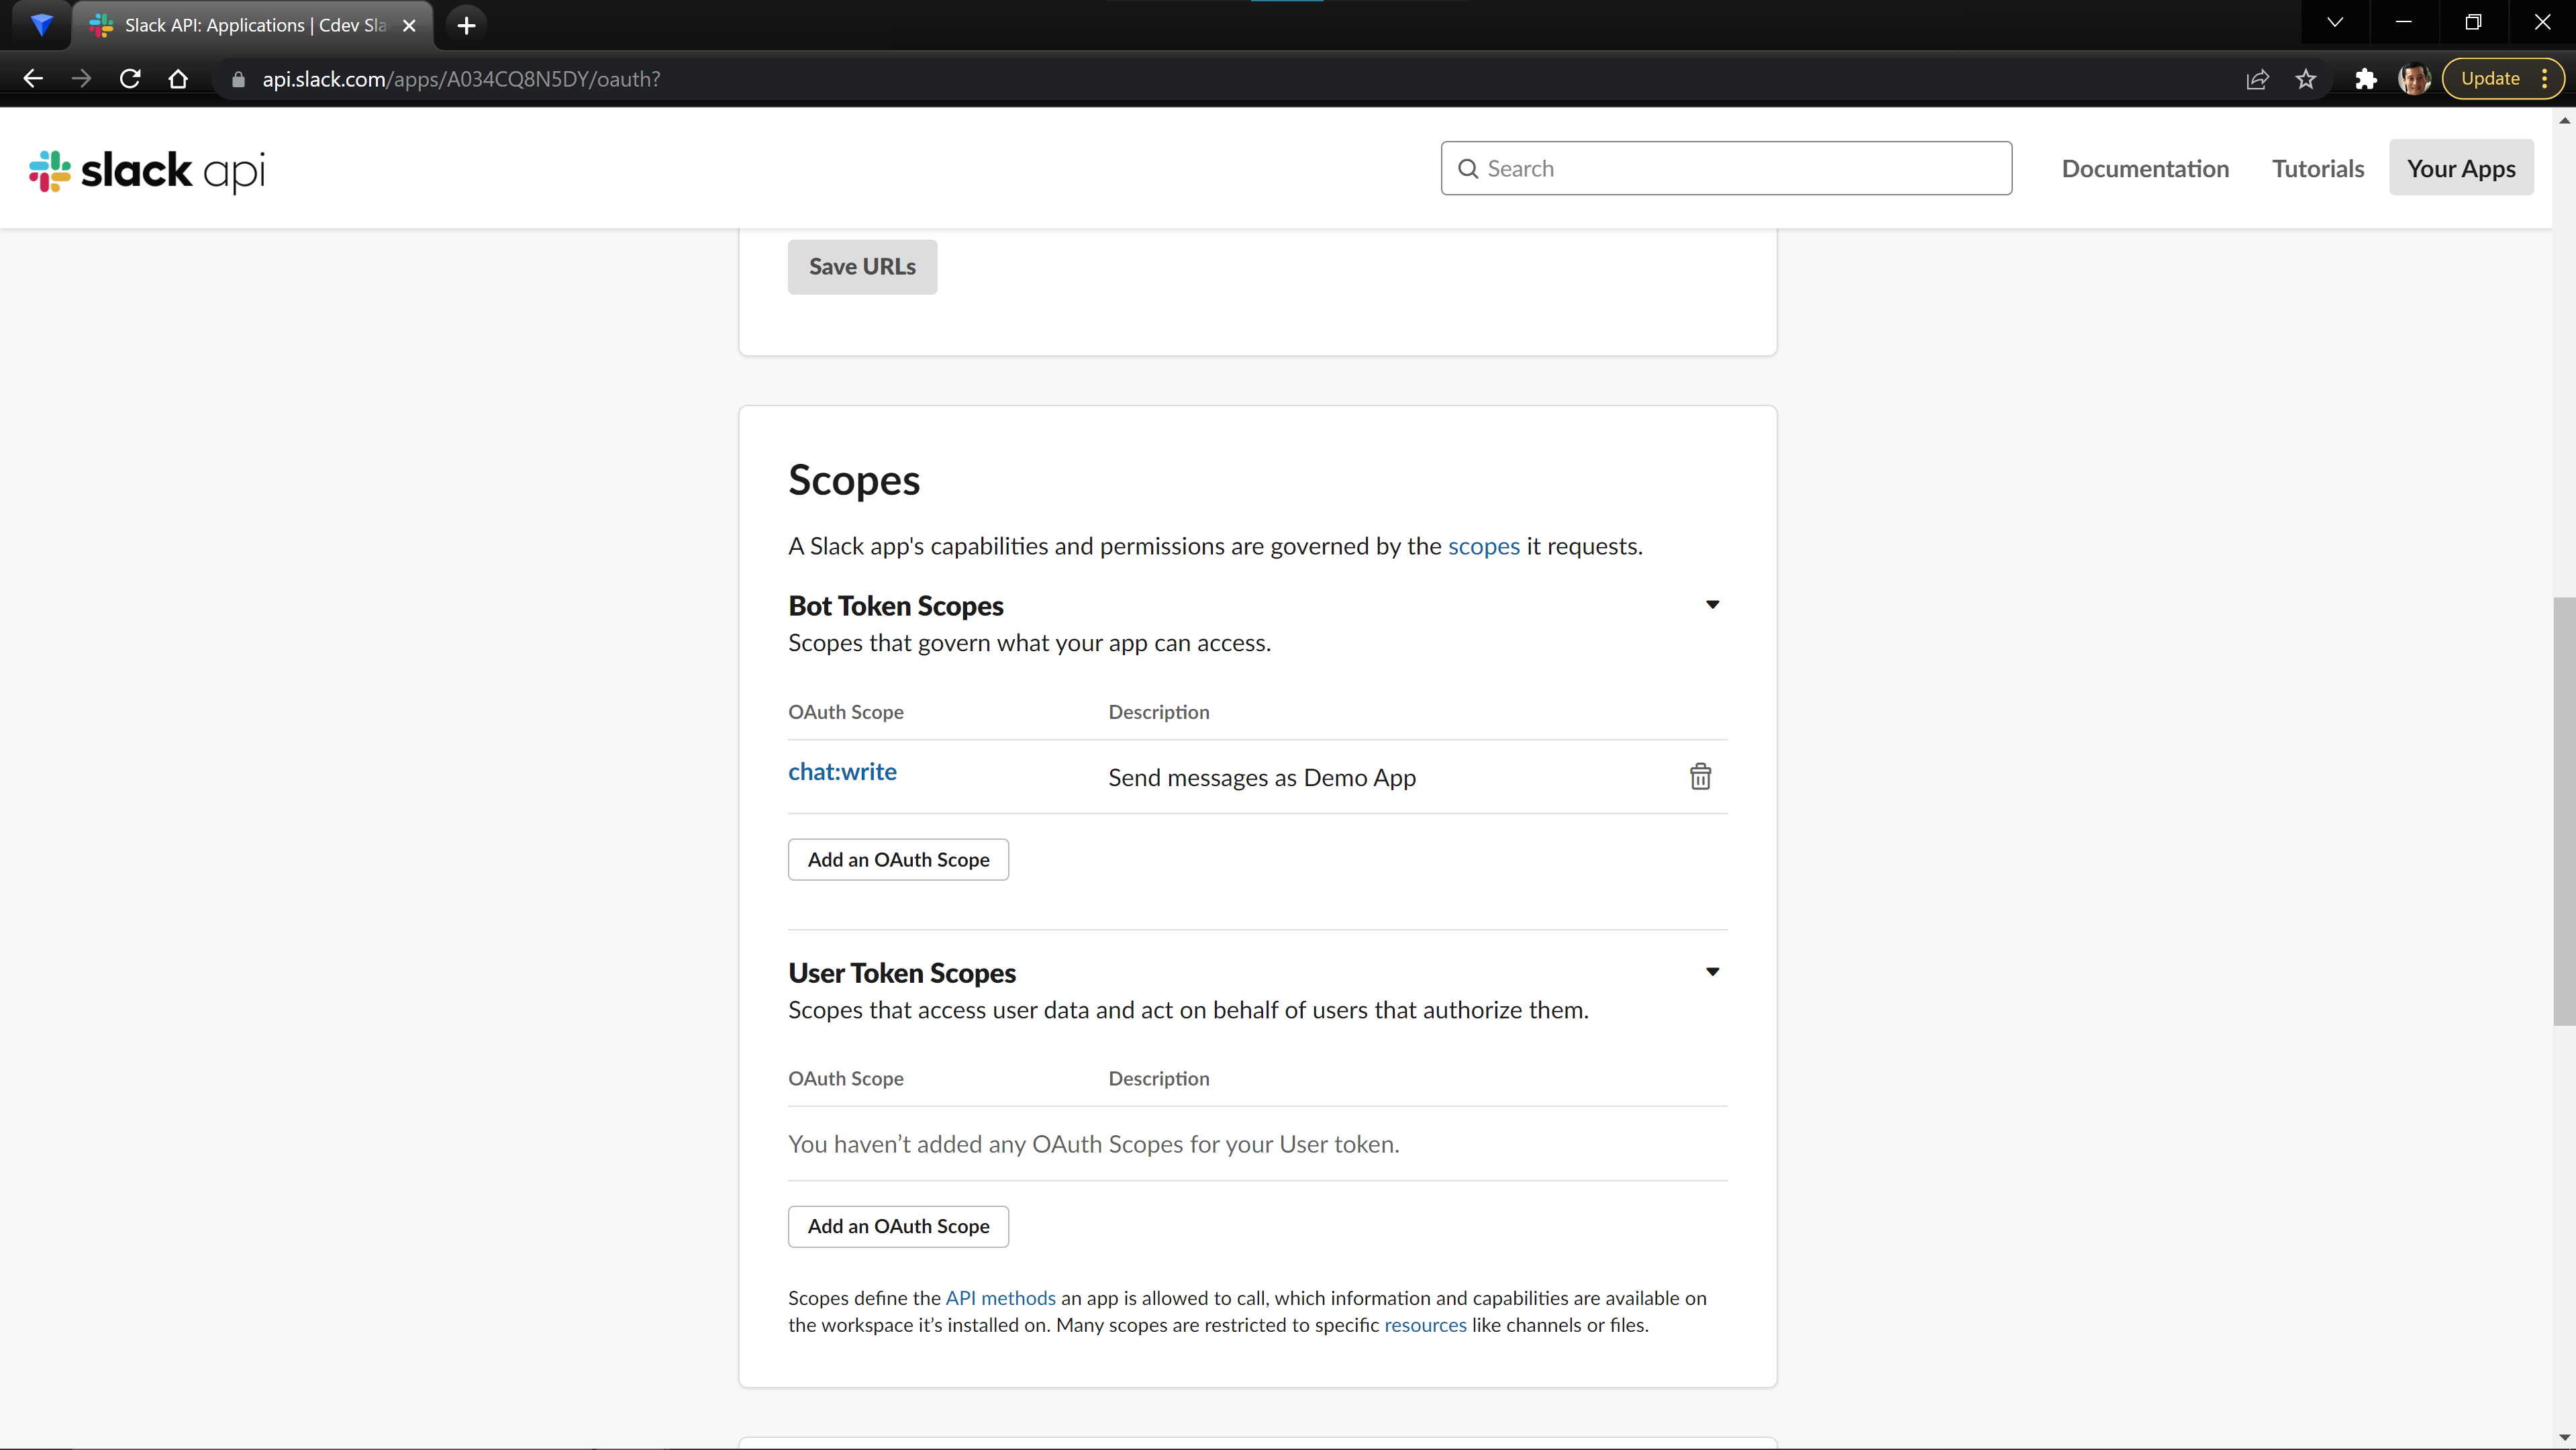
Now that we have created the App, we are going to give our Bot a set of OAuth Permissions. This will allow our Bot to make calls to the Slack API to do things like post messages. Navigate to the OAuth & Permissions page via the side bar, then scroll down to the Scopes section. For this tutorial, we are going to add the chat:write OAuth Permissions. Open the dropdown to the right of Bot Token Scopes. Then, select Add an OAuth Scope to add permissions. Next, scrolldown and select chat:write.
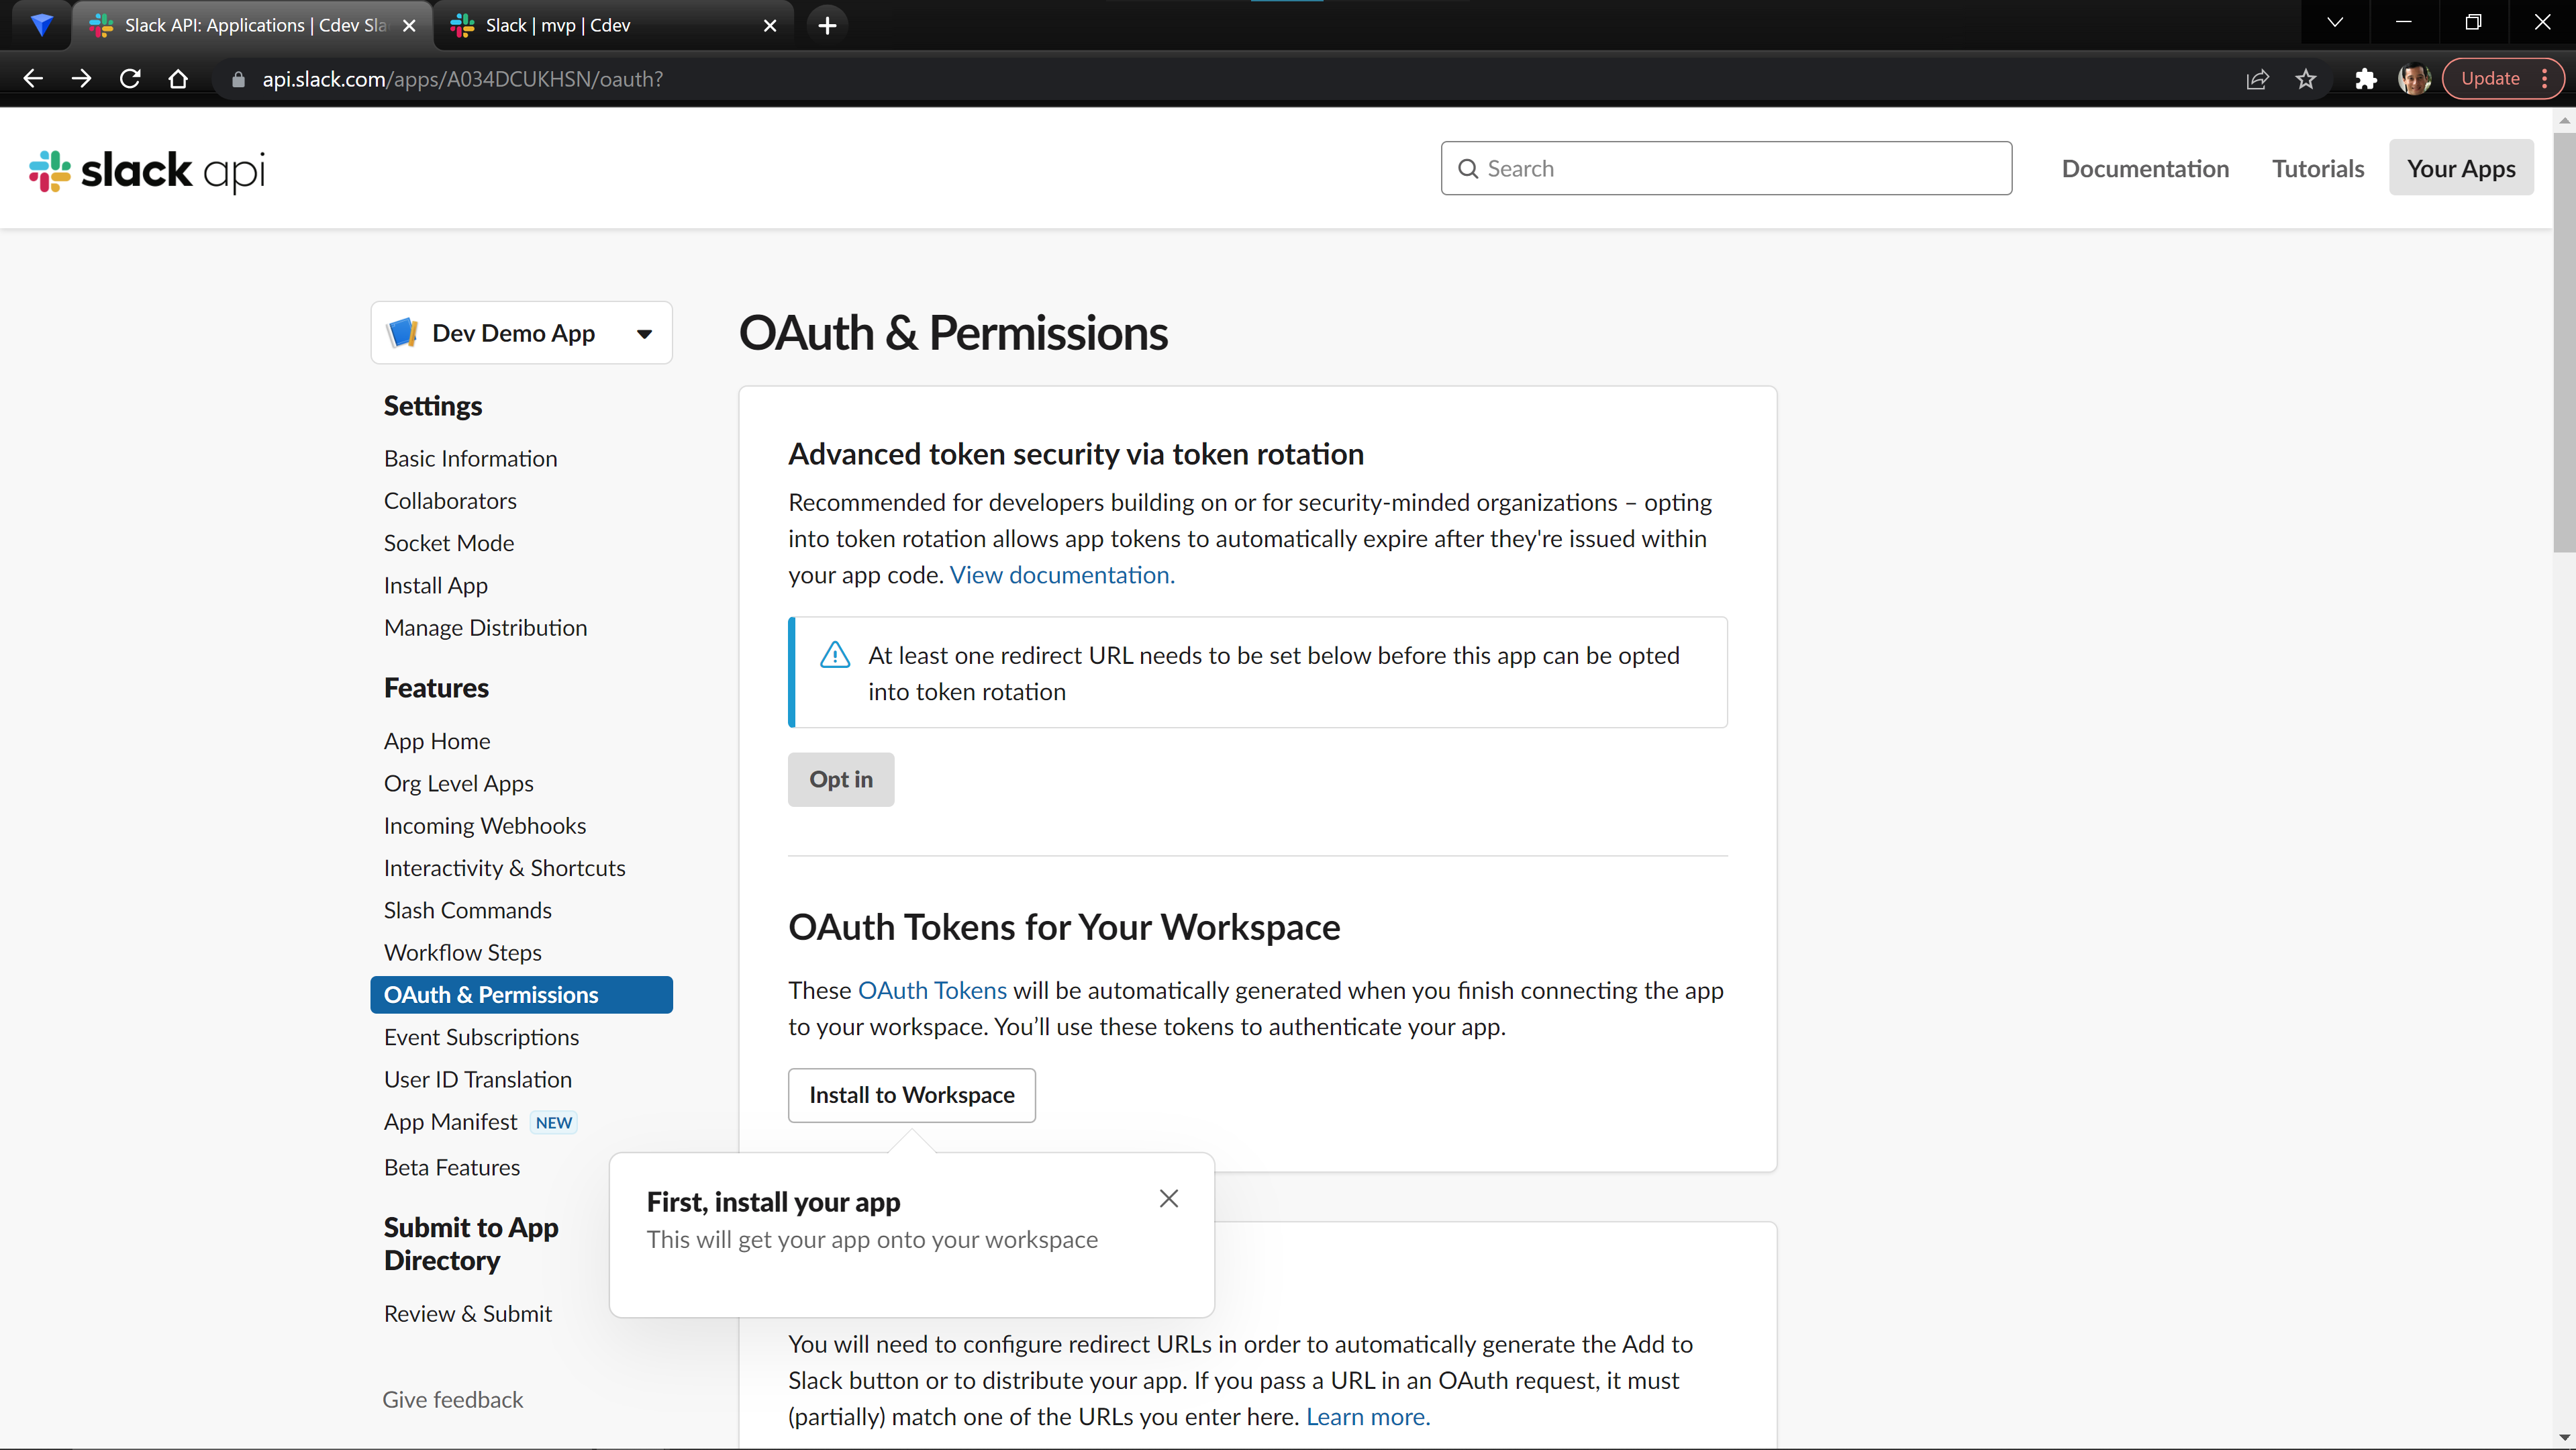
You should be able to now install the App to your Workspace by scrolling back up to the top of the OAuth & Permissions page and select Install to Workspace. You will be prompted to give your app permission to access your Slack workspace.
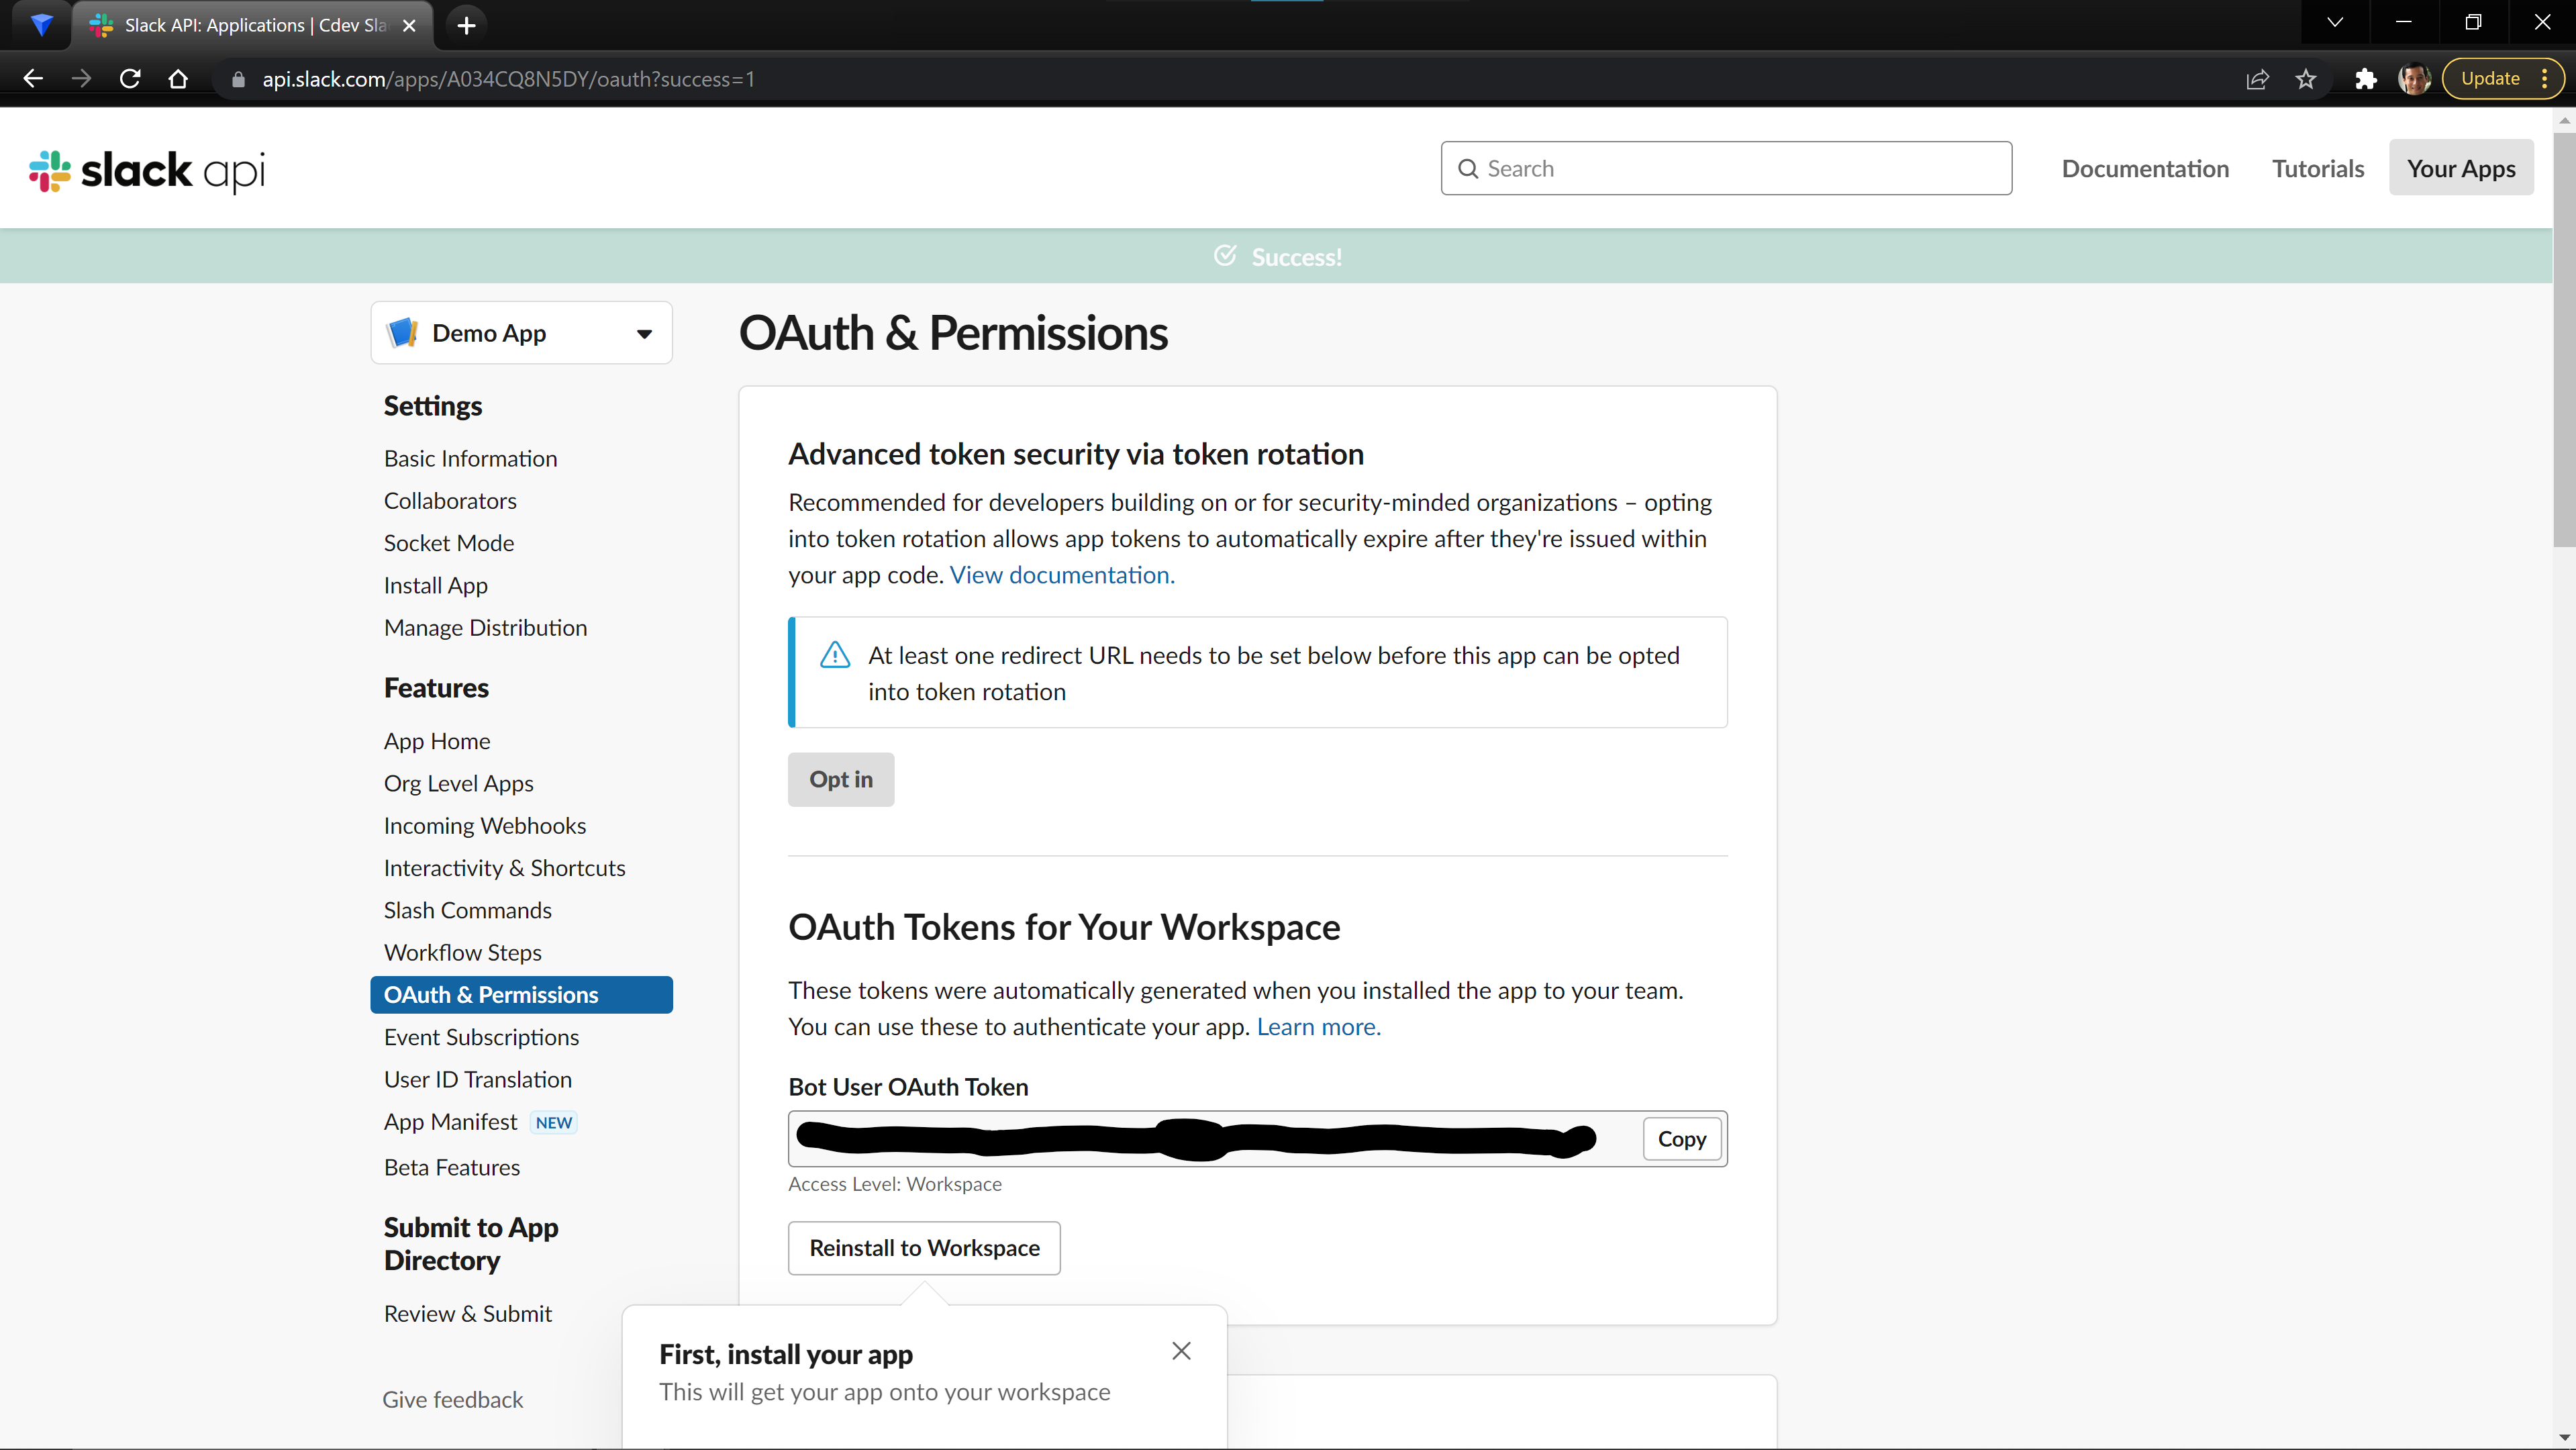
Now that the App has been installed, you will see that there is Bot User OAuth Token. Take note of this value as we will need it when configuring our backend.
We can now set up our Bot to receive events from our Workspace. The general flow of data for a Bot is that Slack sends notifications to our backend about events in the Workspace and then we reply by sending a message to the Slack API as our Bot. To be able to receive these events, we must provide a webhook for Slack to send the data to, which we will now set up using Cdev.
Creating the Backend with Cdev
Create a Cdev Project
We will be starting this tutorial from the slack-bot template.
cdev init my-slack-bot --template slack-bot
Our template uses the Slack Python SDK, so you need to install it to your environment via the provided requirements.txt file.
pip install -r requirements.txt
Add our Settings
We need to change our Environments settings module, so that we can provided our SLACK_SECRET and SLACK_BOT_OAUTH_TOKEN as variables to our Cdev Environment.
cdev environment settings_information --key base_class --new-value src.project_settings.SlackBotSettings
Settings
Cdev Environment to use the provided SlackBotSettings class as the container for your settings. For more information about how to modify Environment Settings check out our documentation in the example section.In the command line, you will be asked to confirm your settings change.
Are you sure you want to update base_class to src.project_settings.SlackBotSettings for the environment (dev) [y/n]?: y
Set our Settings
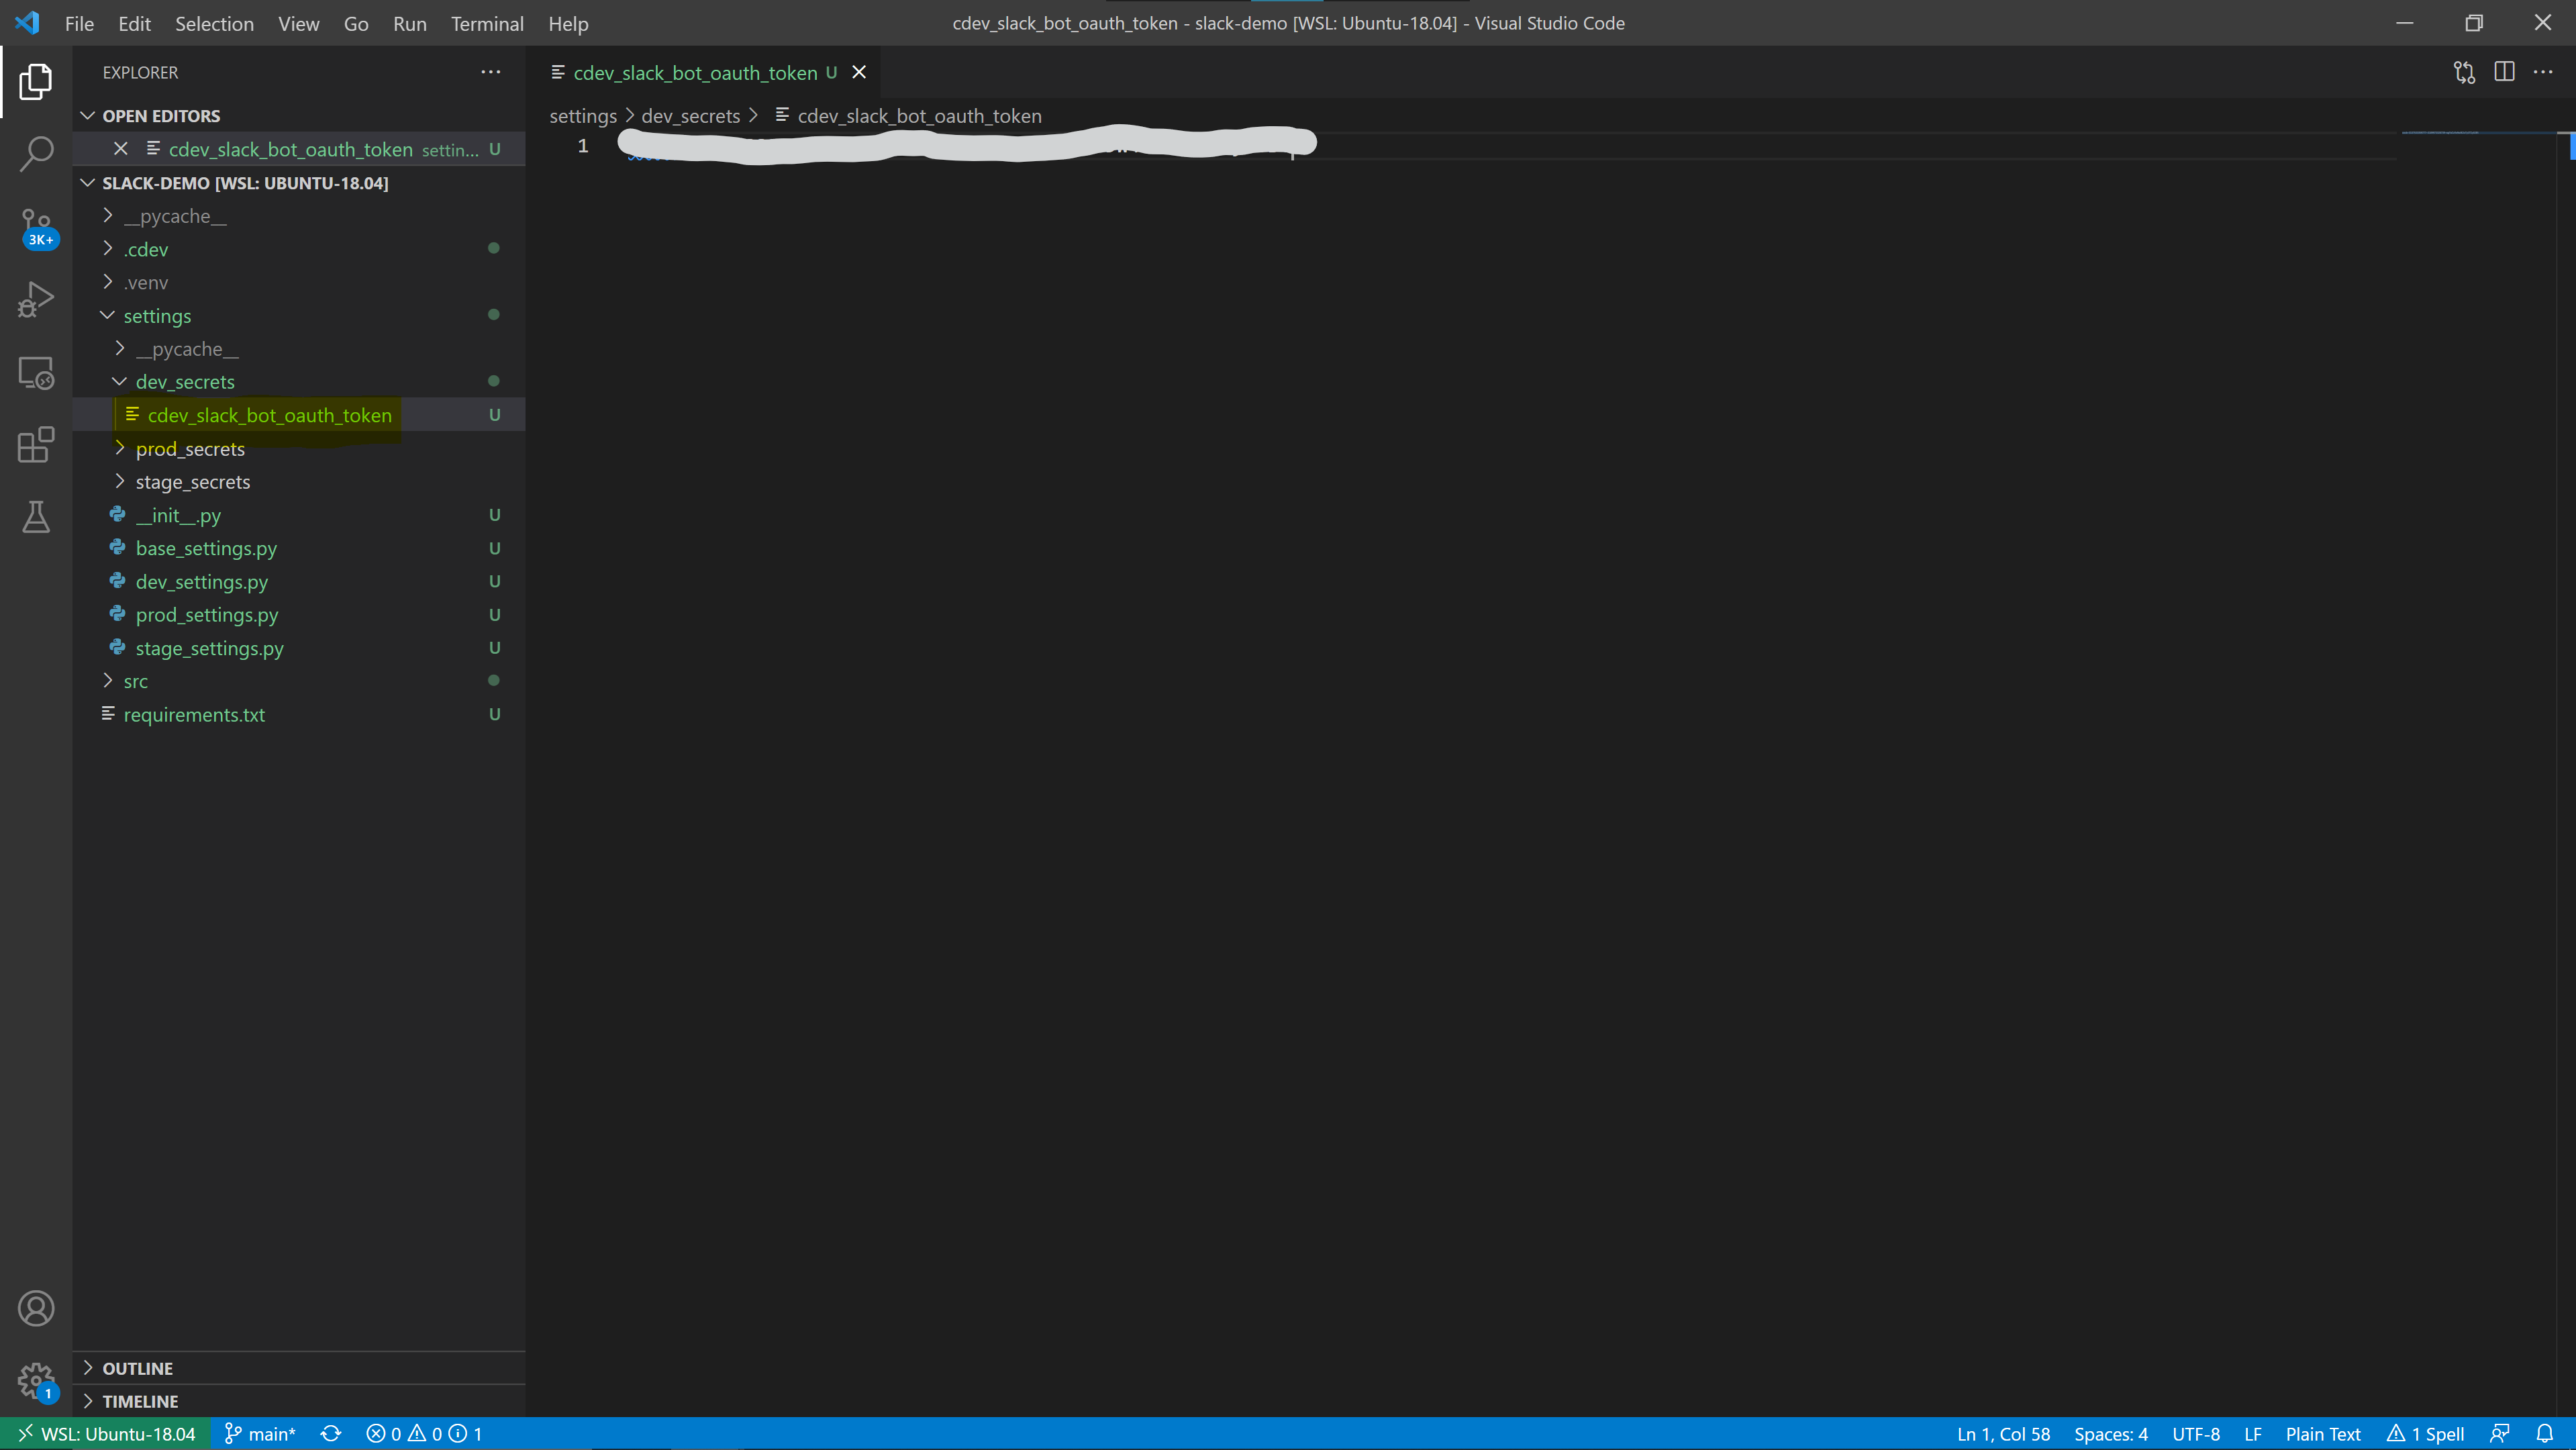
Create a file called cdev_slack_bot_oauth_token in the settings/dev_secrets/ folder. Then in the created file, paste the Bot User OAuth Token from the previous steps. This should be the only value in the file.
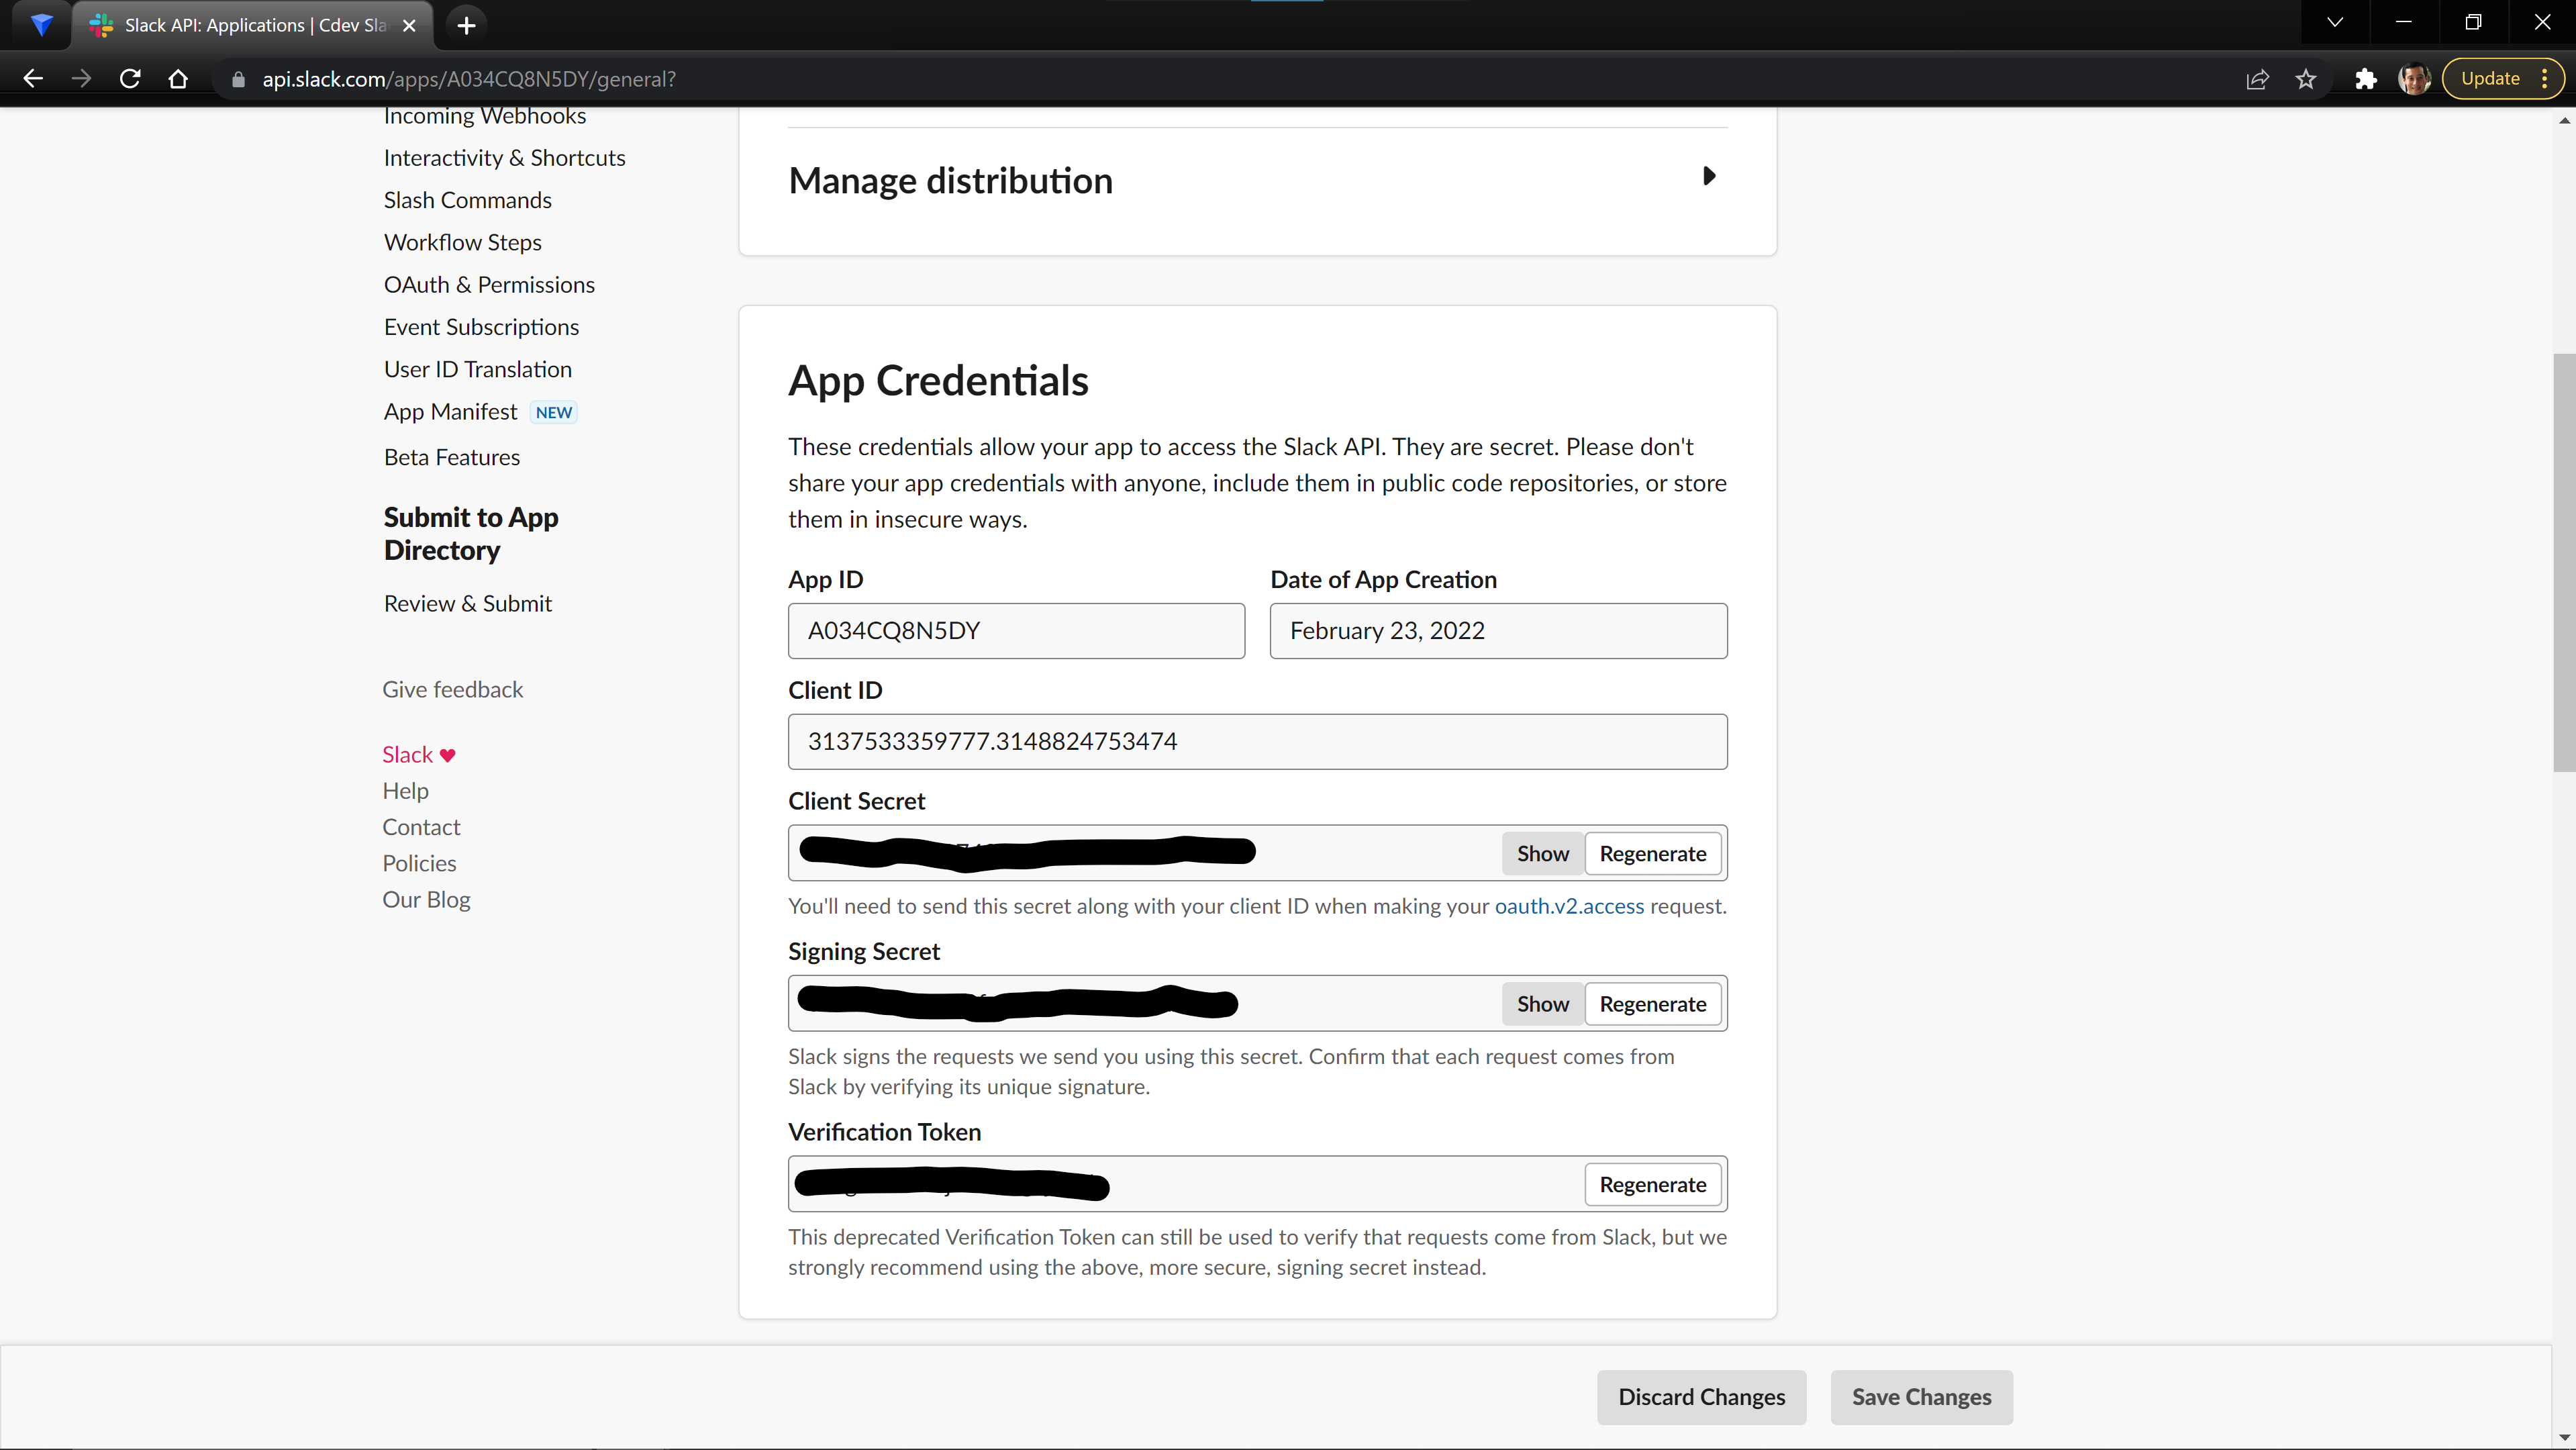
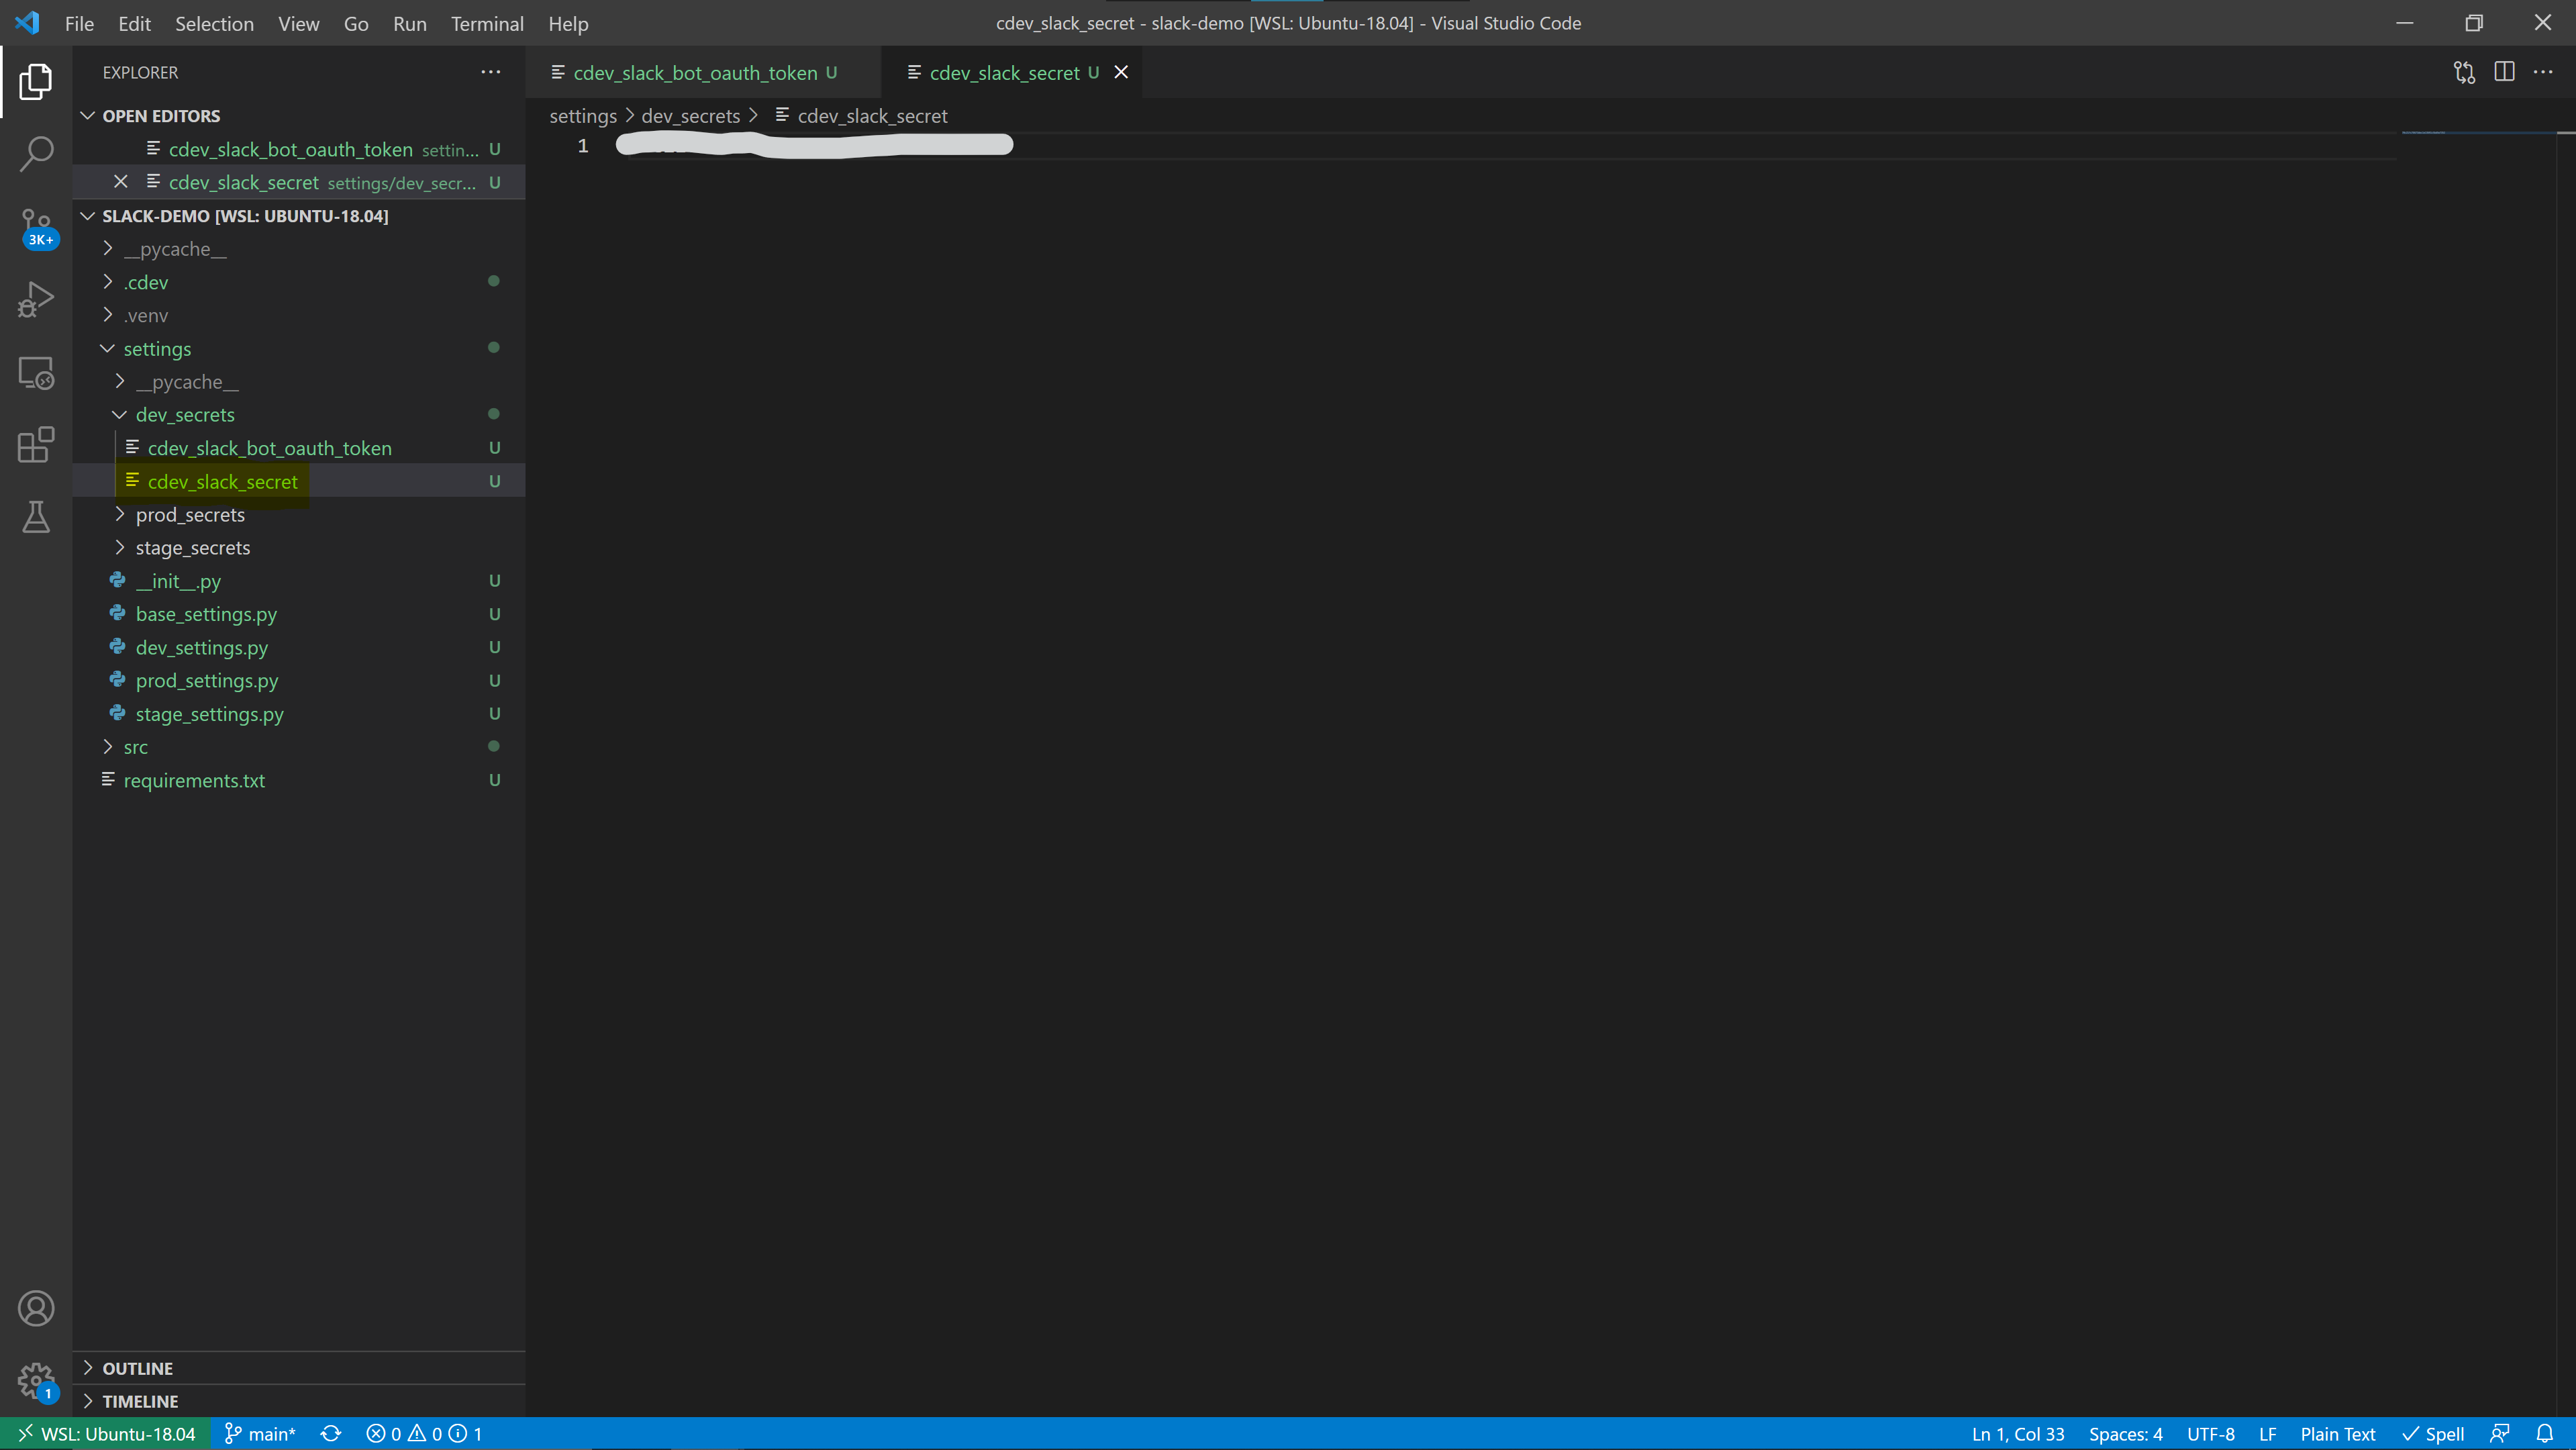
Create a file called cdev_slack_secret in the settings/dev_secrets/ folder. Then in the created file, paste the Signing Secret from your apps Basic Information page. This should be the only value in the file.
Deploying our Bot
Now we can deploy our backend.
cdev deploy
Deploy Output
This step should output the live url of your webhook and route.
Base API URL -> <your url>
Routes -> FrozenDict({'/webhook POST': 'ca8ts2p'})
Add our generated Webhook
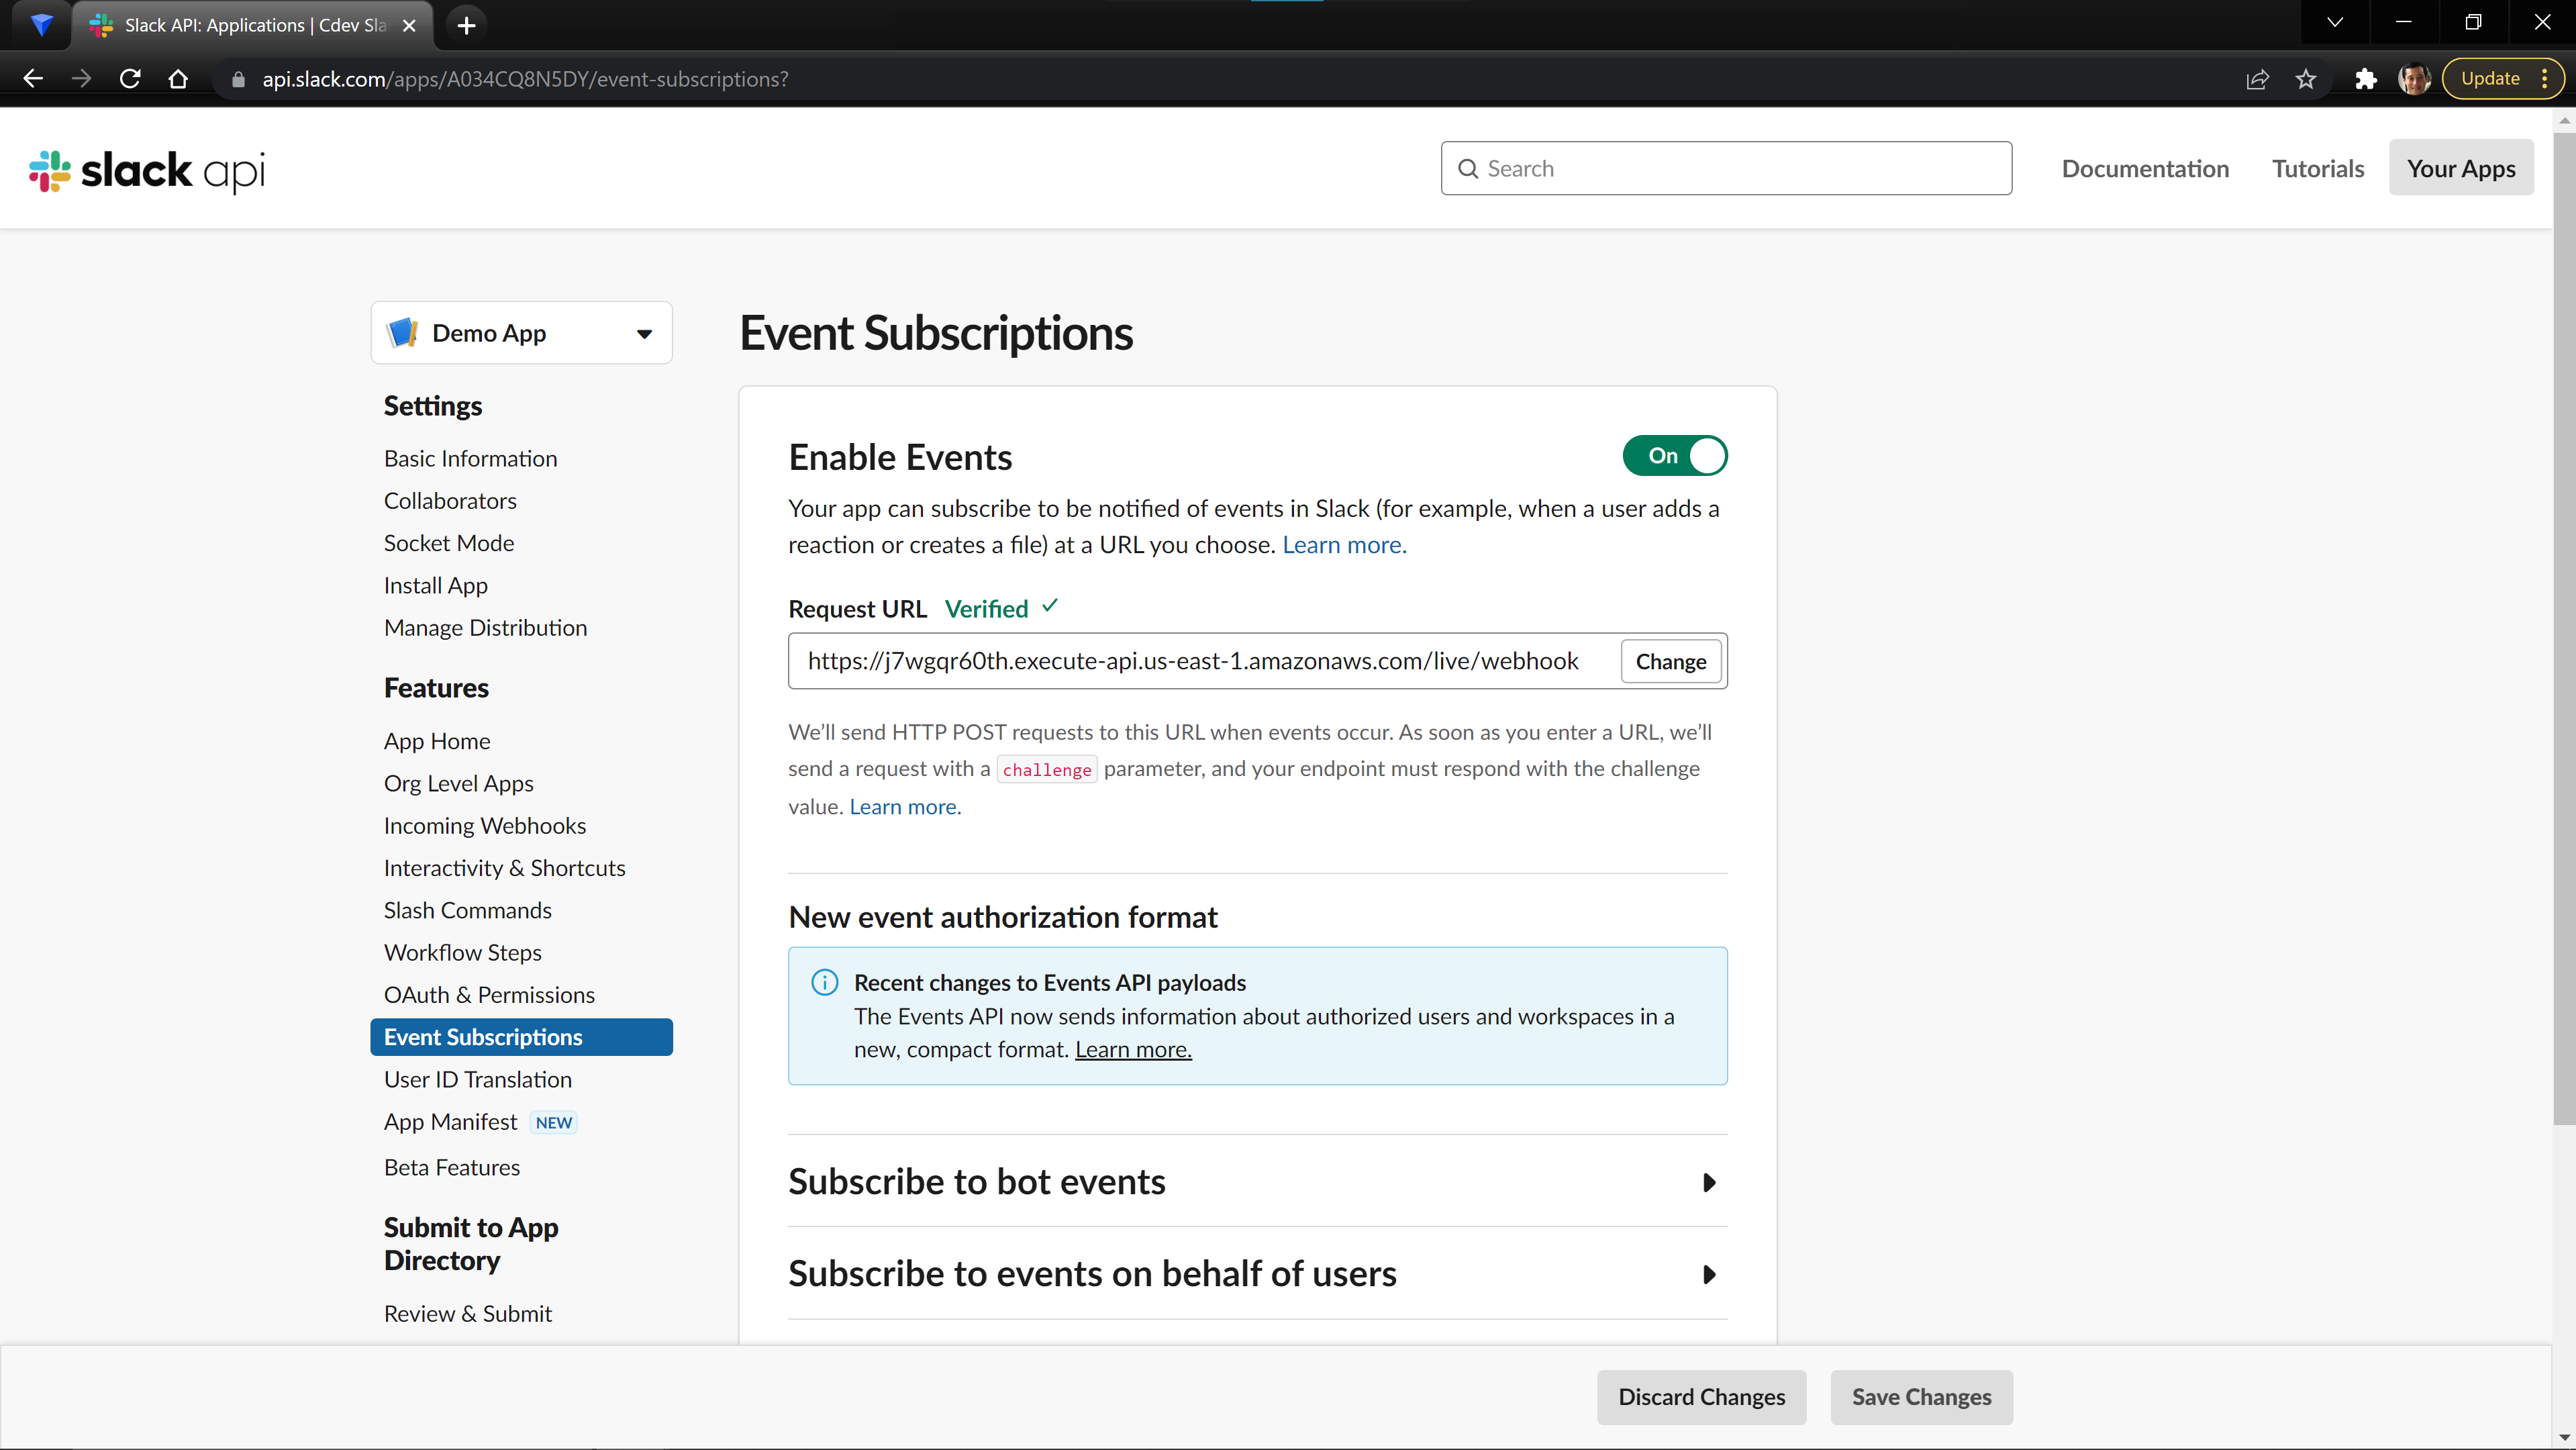
We are going to take this API and use it to receive events from our Slack Workspace. On our Slack App page, click the Enable Events toggle on the Events Subscription page and add your full url (<base_url>/webhook) as the receive_url. It will automatically send a test event to your backend to make sure it is configured correctly.
You can see that the event was received by showing the logs of your function.
cdev run function.logs slack_bot.webhook
Modifying the Slack Bot Events
We now must tell Slack what events we want to listen for. This is an important part of understanding the load your backend will receive, and you should choose the smallest amount of events needed to make your application. For this tutorial, we will only be listening to events that directly mention our App or Bot (message.im and app_mention), but you can find a list off all events in the Slack Documentation. You can set your events by scrolling down on the Events Subscription page to the Subscribe to Bot Events section and select Add Bot User Event. Note after saving the changes, you will have to reinstall the app.

Now you should be able to directly message your Bot in a Slack Channel and have it reply!
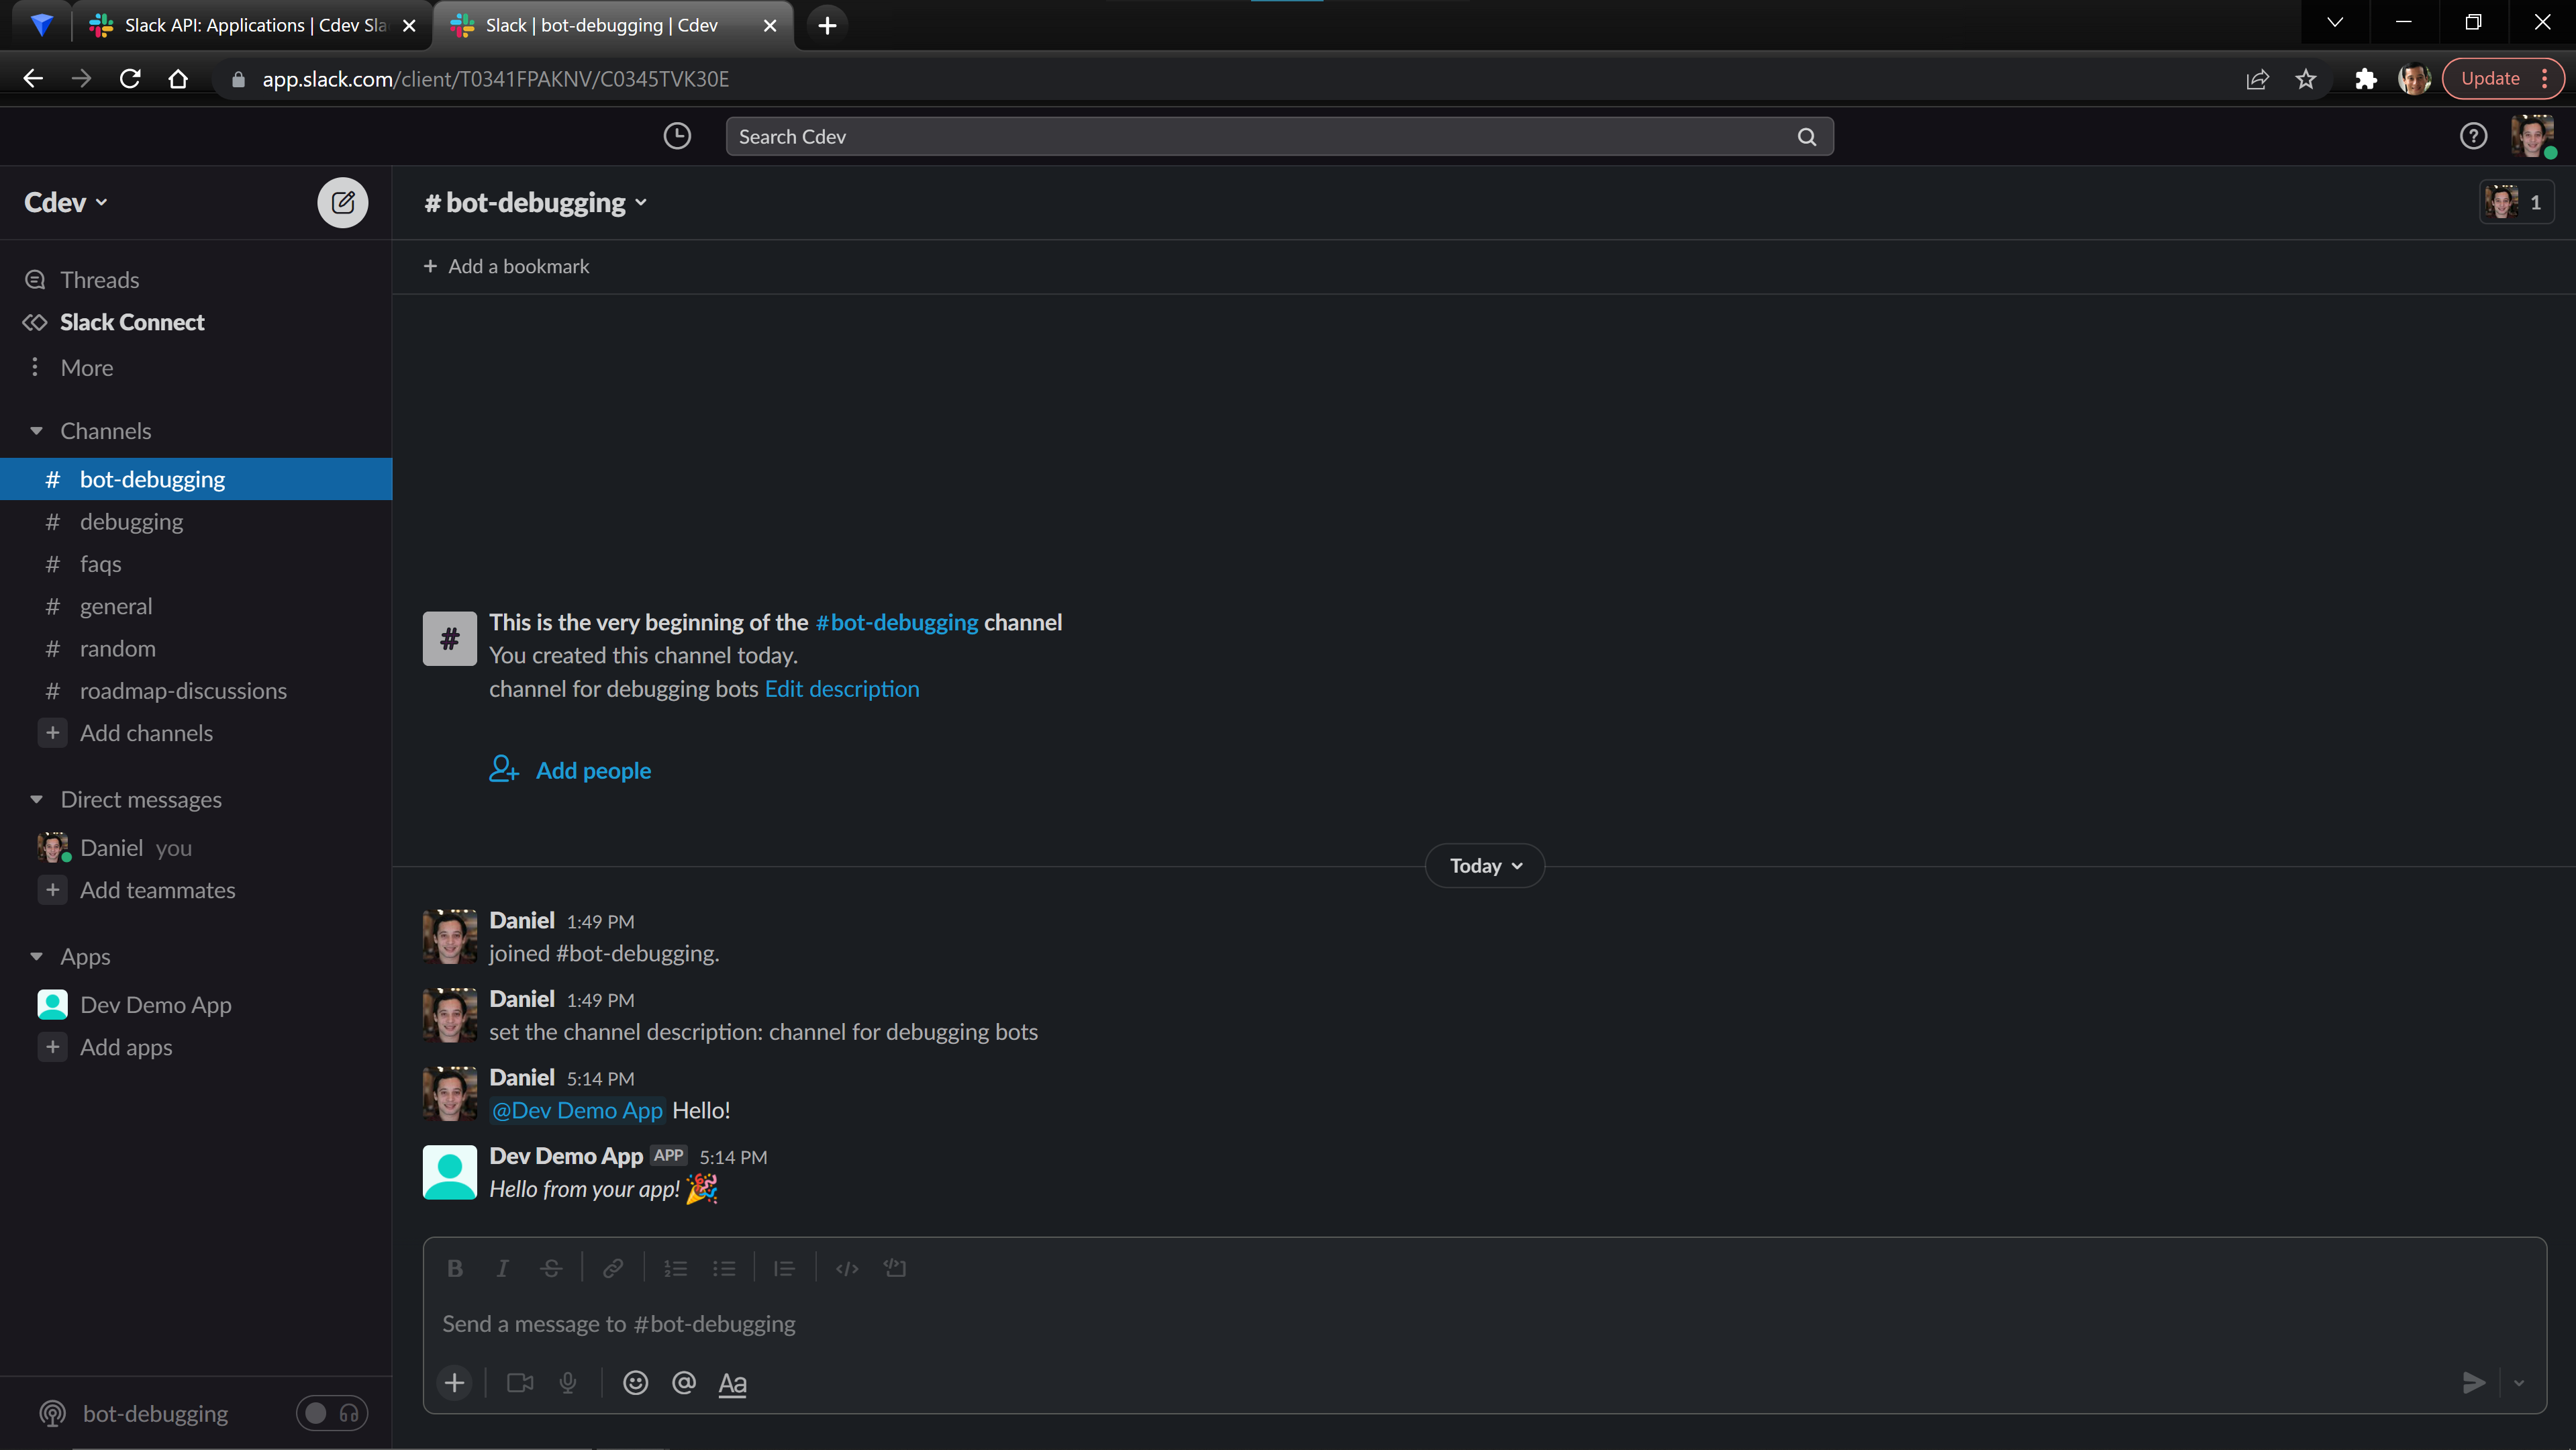
Congratulations you have set up your Slack Bot!! 🎉